Changing Tires

Changing Tires

Tech Tip: Changing Dirt Bike Tires

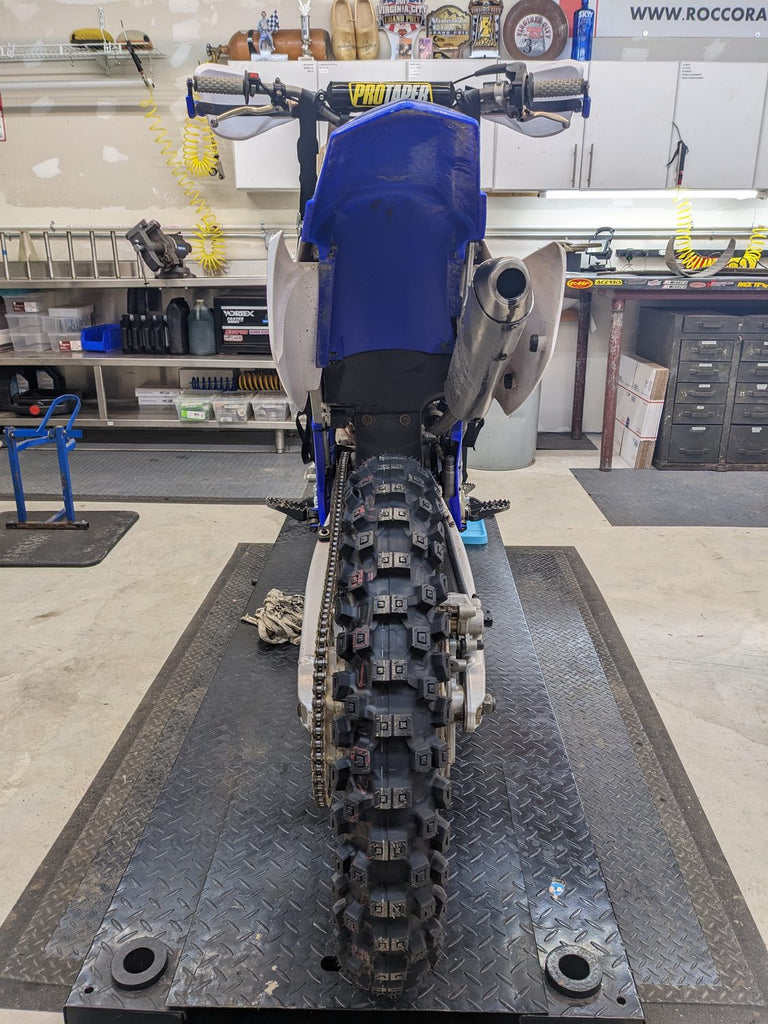
Whether you’re a pro tire changer or a beginner, you should be able to find a tip below that will make your TUBE-TYPE tire changes easier.

If you don't watch the how-to video below, here are some key tire changing takeaways:

  • When removing tires, start by removing the bead at the rim lock - put one tire iron on each side of rim lock.

  • Remove both beads without ever pulling the tube out of the tire - pull tube last after rim has been removed.

  • Put a little bit of air in the tube before installing to rim - just enough air so tube is not completely pancaked, but not so much that it press against all sides of tire.

  • Put tube in new tire BEFORE the tire goes into the rim.

  • Put valve stem through rim BEFORE getting the first side bead in and screw valve stem nut on a couple threads - not all the way down!

  • Lube both beads up prior to installation - WD40 or soapy water work great!

  • When reinstalling rear wheel to bike, jam a rag in-between the chain and sprocket - this pulls the chain adjuster blocks tight to the ajuster bolts to ensure the best alignment possible.


“Cheater” tools that make changes easier:

How To Change a Dirt Bike Tire

It's time to check your service intervals.

CLICK HERE FOR OUR SERVICE INTERVAL GUIDE

We prefer to monitor service intervals via hour meters for two reasons:

  1. Hour meters are a more accurate representation of the wear-and-tear on a bike than mileage.

  2. Hour meters are more common, easy, and cheaper to install than odometers.

Don’t have an hour meter? Bring your bike in, and we’ll dial ya in with one. Even better… if you spend $200 or more on your next job with us, we’ll install one for free - just request it!


0 comments

Leave a comment

Please note, comments must be approved before they are published